This class was an Introduction
to Lost Wax Casting. The following is a "reader's digest" version
of the steps involved in the Lost Wax Process. I could go into much more
detail, but will do that in another section.
 Rich Fizzell came into the class with a little lost wax casting exposure,
and rather than just teach him how to cast, I also wanted him to learn
to carve the wax patterns. SO we started with the "wax design"
phase. You have to have a wax pattern to do the process. Rich decided
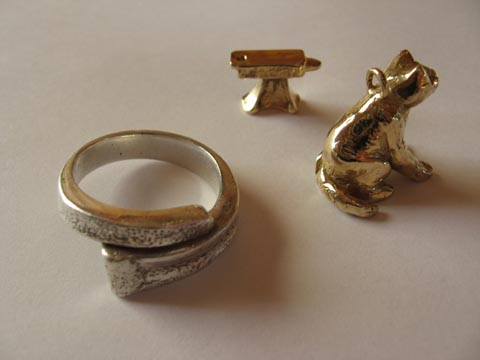
that he'd like to make a Cat Pendant for the lady in his life. He spent
the first few hours carving wax. His first attempt at wax sculpting was
very successful IMO. Once the cat pattern was made, Rich took the newly
developed wax design techniques and made a wax pattern of a "Cut
Nail" ring that he'd designed in the past. Rich Fizzell came into the class with a little lost wax casting exposure,
and rather than just teach him how to cast, I also wanted him to learn
to carve the wax patterns. SO we started with the "wax design"
phase. You have to have a wax pattern to do the process. Rich decided
that he'd like to make a Cat Pendant for the lady in his life. He spent
the first few hours carving wax. His first attempt at wax sculpting was
very successful IMO. Once the cat pattern was made, Rich took the newly
developed wax design techniques and made a wax pattern of a "Cut
Nail" ring that he'd designed in the past.
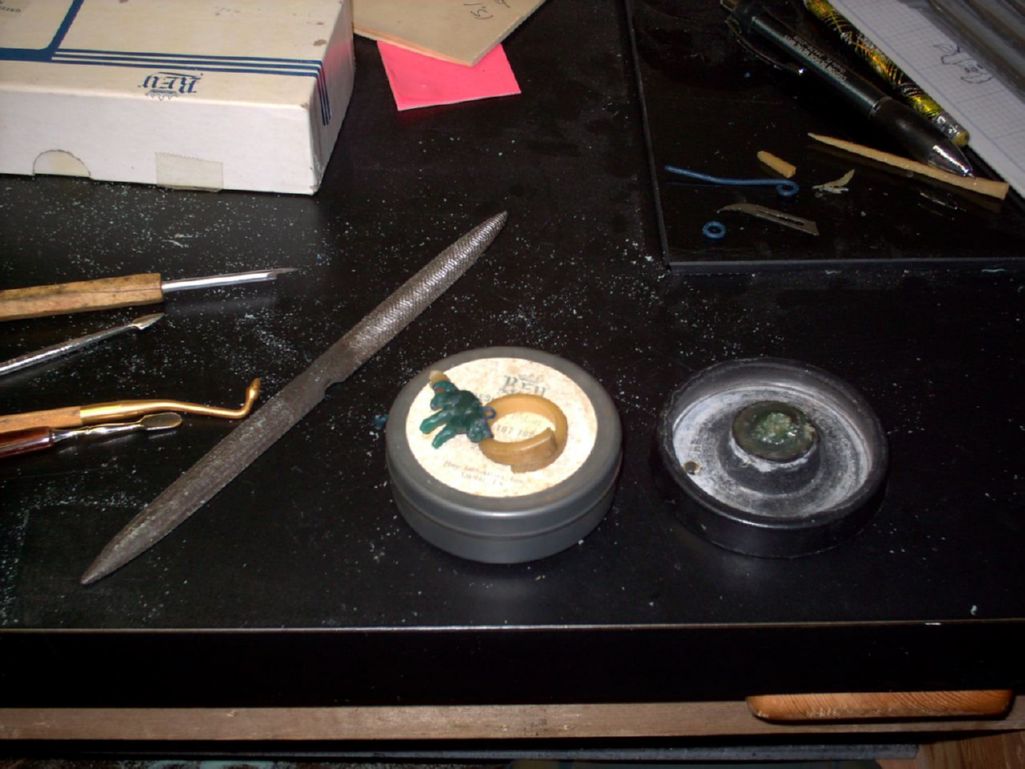
Now, with two wax patterns ready to cast we moved on
the the next phase of the process. The "sprueing". This part
of the process is how the wax patterns are attached to the "sprue
base". The sprues are also how the wax "gets out" and the
molten metal "gets in". The sprue base is a flexible rubber
base that fits a steel flask. Because Rich wanted to do the cat in gold
and the ring in sterling he sprued each wax separately so that they would
be in they own flask.
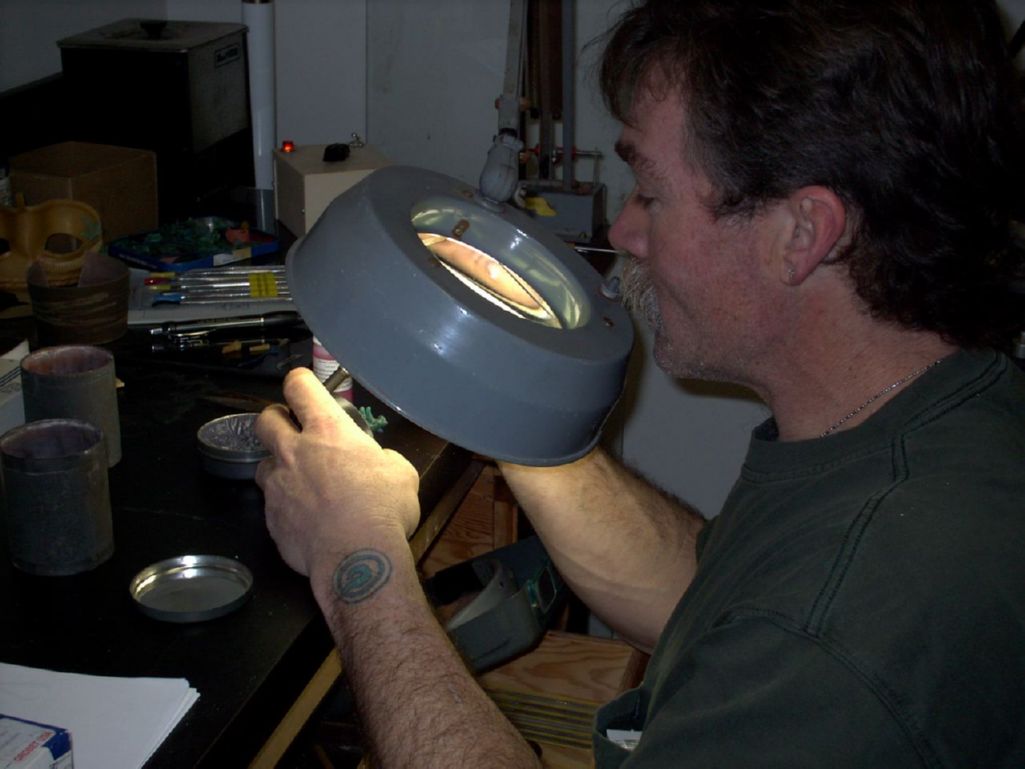
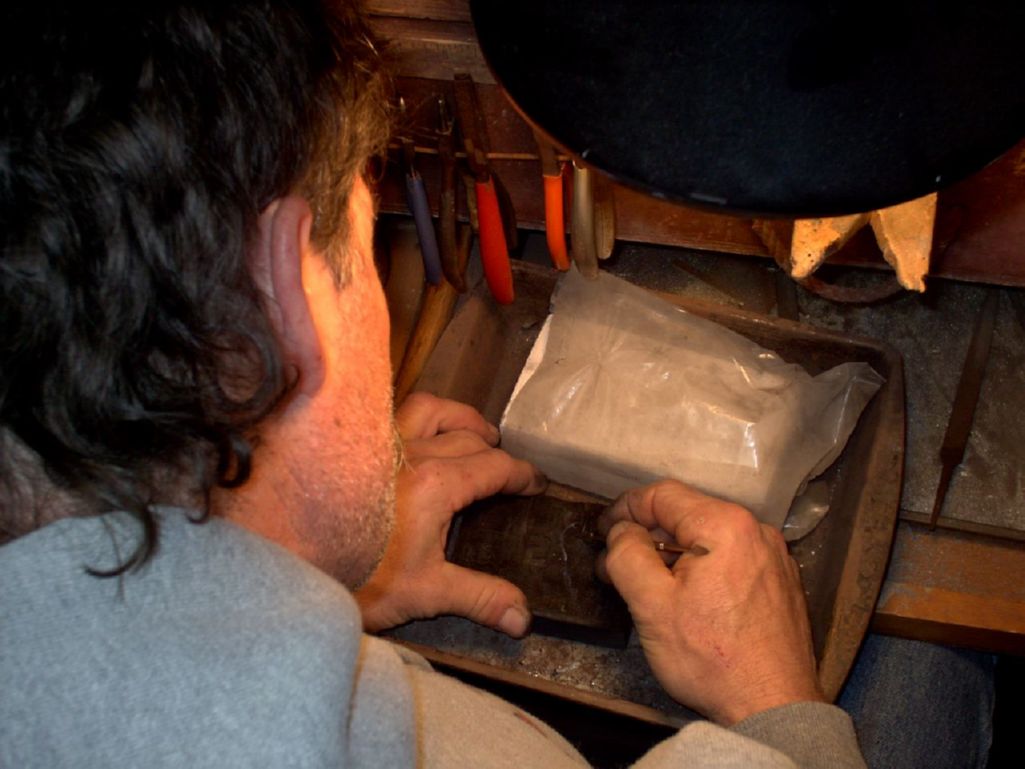
Once the wax patterns are attached to the sprue base,
and a "debubblizer" is sprayed on the waxes, the flask is placed
over the patterns and it is ready for the next step in the process. Which
is the investment phase. "Investment" is the name of the "Plaster
mix" that is used to encase the wax patterns. Once the plaster (investment)
is poured into the flask it's set aside and allowed to cure or harden.
After about an hour it's completely cured/hard. Then the flexible rubber
sprue base is removed, with a twisting action. This leaves a corresponding
negative depression in the bottom end of the plaster filled flask. All
that is visible of the wax patterns is the end of the wax sprue that was
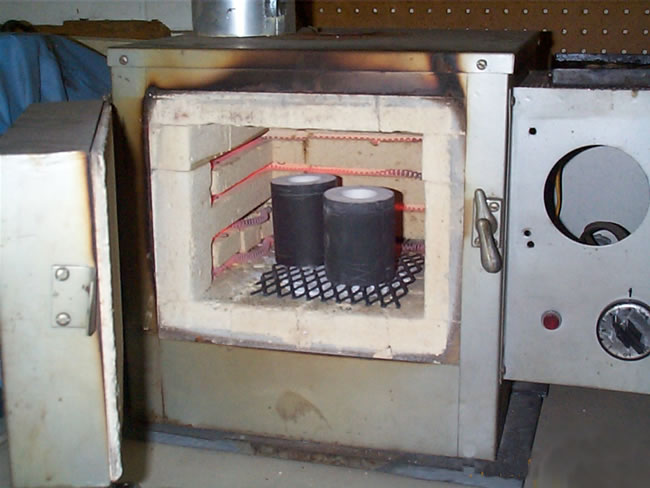
attached to the rubber sprue base. The next phase of the process is to
preheat the kiln to 350 degrees and prepare to melt out the waxes. At
the lower temperature the wax melts into a "wax tray" that catches
all the wax and can be removed before the kiln is taken to the higher
burn out temperatures. This is how the process gets it's name, Lost Wax
Casting. By melting out the wax pattern......it is Lost. And leaves a
negative in the plaster that will accept the molten metal, and reproduce
the wax master in the metal of choice.

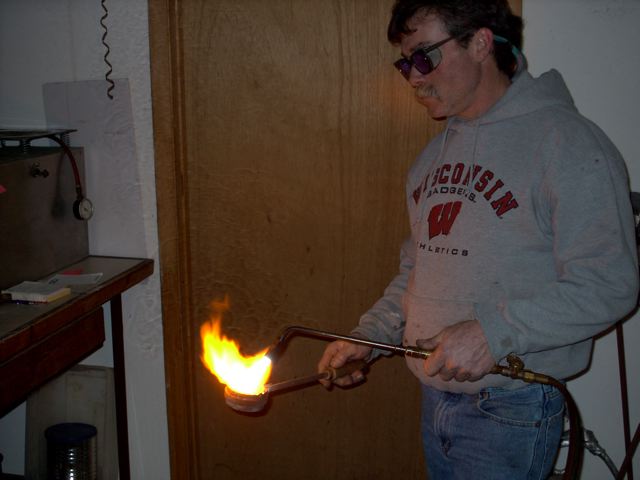
 After the "wax elimination tray" is removed, the kiln is taken
up to the "burn out temperature", which is around 1300 degrees.
At this high temperature all the wax residue is completely burned out
of the flask. Then the flasks temperatures are brought down to a "casting
temperature". In this case 850-900 degrees. After the flasks have
been "soaked" at the casting temperature for at least an hour,
the casting metal can be melted in preparation to "pour". The
small flasks complete the wax elimination and burn out in 4-6 hours. After the "wax elimination tray" is removed, the kiln is taken
up to the "burn out temperature", which is around 1300 degrees.
At this high temperature all the wax residue is completely burned out
of the flask. Then the flasks temperatures are brought down to a "casting
temperature". In this case 850-900 degrees. After the flasks have
been "soaked" at the casting temperature for at least an hour,
the casting metal can be melted in preparation to "pour". The
small flasks complete the wax elimination and burn out in 4-6 hours.
 When the metal is molten and "fluxed" the
flask is removed from the kiln and placed on the vacuum casting machine.
When the casting machine is turned on, the the molten metal is poured
into the depression left by the sprue base and the molten metal is "sucked"
into every crack and cranny of detail that was on the master and is NOW
in the negative space in the Plaster. There by creating an Exact copy
of the wax master. This casting process was repeated for the other flask
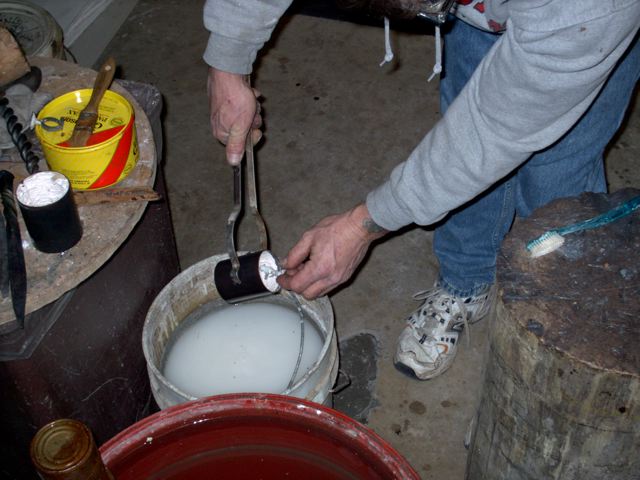
and then we proceed to the "break out" stage. This is done when
all the heat is gone from the "molten sprue button" that is
visible in the depression in the flask. Once you can no longer see a Red
Glow from the molten "button" you can take the flask and submerge
it in a bucket of water. This makes the hot investment react with the
water, it boils radically causing the plaster investment to break apart
and fall off of the still hot casting. This makes the clean up a lot easier
than trying to break off the cold plaster investment. That is the end
of the casting process. When the metal is molten and "fluxed" the
flask is removed from the kiln and placed on the vacuum casting machine.
When the casting machine is turned on, the the molten metal is poured
into the depression left by the sprue base and the molten metal is "sucked"
into every crack and cranny of detail that was on the master and is NOW
in the negative space in the Plaster. There by creating an Exact copy
of the wax master. This casting process was repeated for the other flask
and then we proceed to the "break out" stage. This is done when
all the heat is gone from the "molten sprue button" that is
visible in the depression in the flask. Once you can no longer see a Red
Glow from the molten "button" you can take the flask and submerge
it in a bucket of water. This makes the hot investment react with the
water, it boils radically causing the plaster investment to break apart
and fall off of the still hot casting. This makes the clean up a lot easier
than trying to break off the cold plaster investment. That is the end
of the casting process.
The only think left to do is to clean up the castings.
This involves cutting the cat and ring off of the sprues and filing and
buffing to the desired finish.

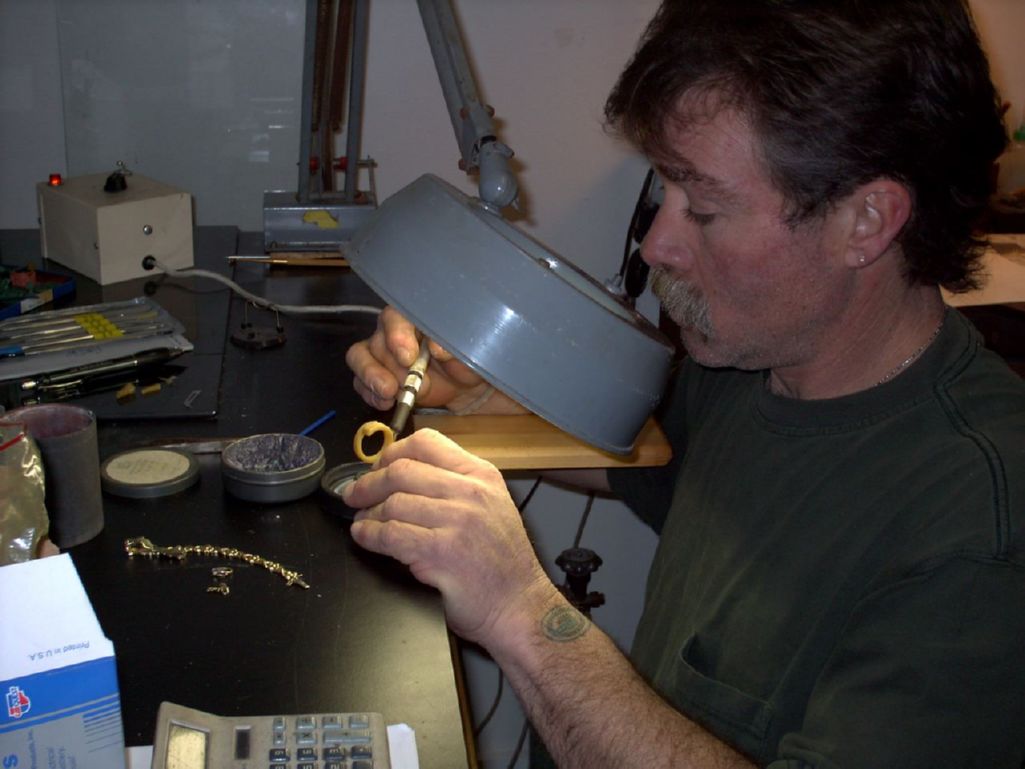
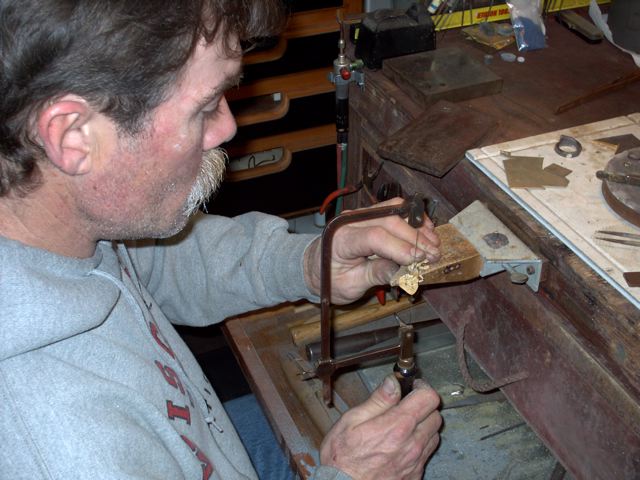
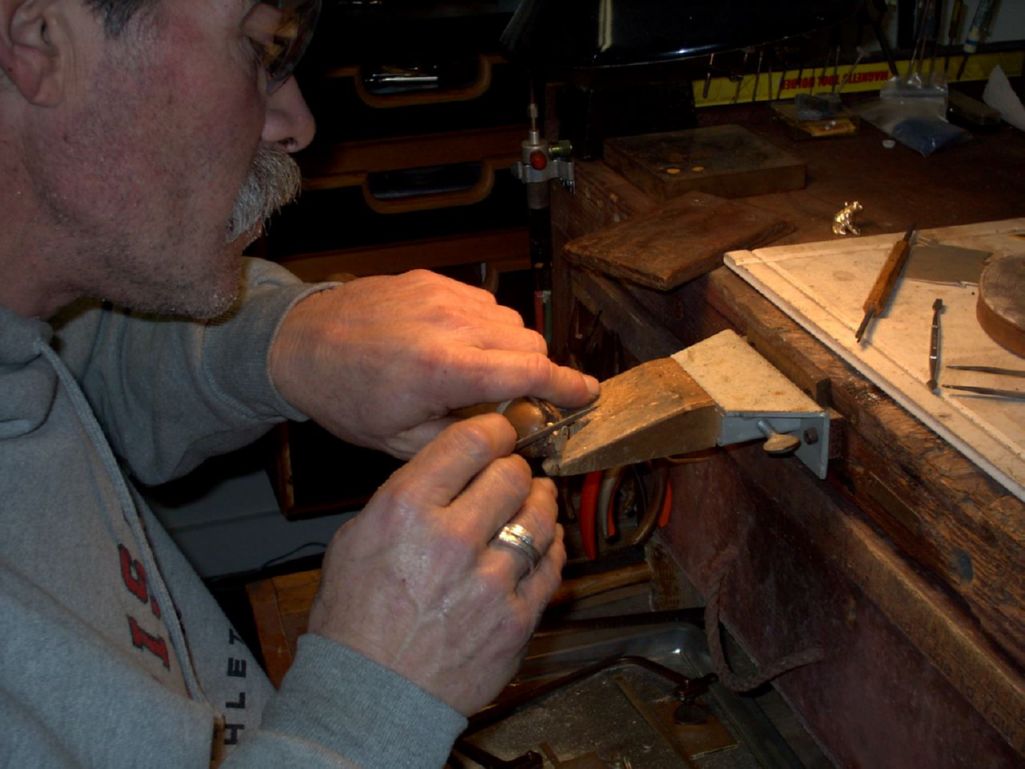
Rich cutting off the sprue and button from the cat. The sterling button
from the ring is on the "bench pin" holder. AND... Rich's nice
perpendicular sawing form. He didn't even break a blade, not to shabby
for someone that had never used a jeweler's saw before.
As you can see in the finished jewelry photo above, Rich
also made a small anvil pendant by carving a negative impression in a
charcoal block. He carved an anvil, which he filled by melting the sprue
and button that was left over from casting the cat. Not a great photo
but... shows him working and the very "basic" carving tool that
he used. The working "end" is like a flat screwdriver.

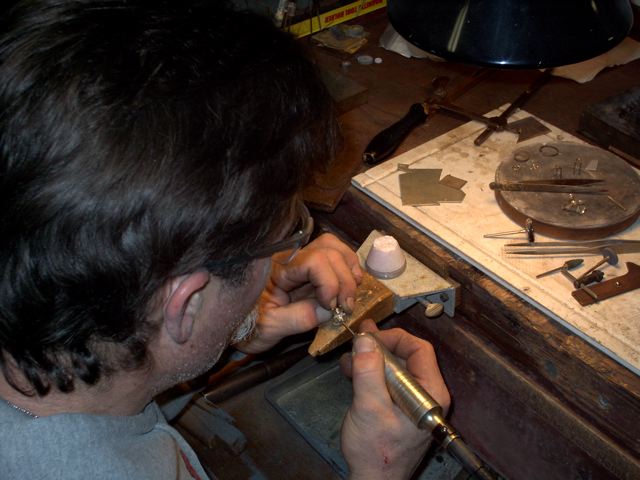
And... .After the anvil was made in the charcoal block, this is a shot
of Rich doing a lil clean up with a file. You can also see the "CAT"
on the bench in front of him.

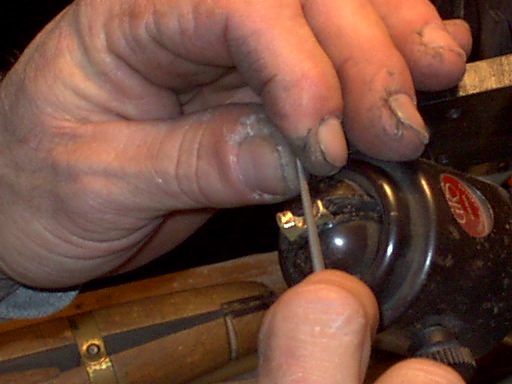
And a nice close up shot of more file work with the anvil in the Benchmate
ring clamp.
Which was followed up with some polishing for it's "photo
op".

|